This video shows how color mixing in printers and screens helps you fix colors in video editing.
4.1Mviews
195Klikes
139comments
0shares
0saves
633Kfollowers
44slong
4.7%liked
hookA creator uses a bold screen caption and colorful visual overlay to pull viewers in.
Visual setup. A man wearing a bandana sits in a warm studio.
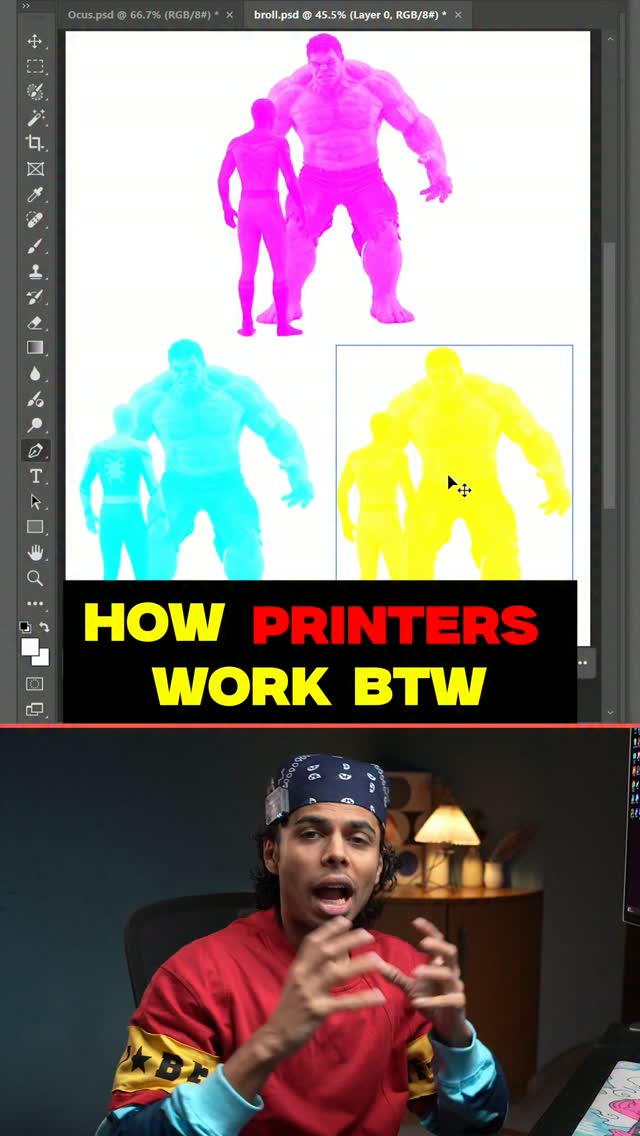
Screen text. Yellow text reads 'HOW PRINTERS WORK BTW'.
Audio track. The host talks directly to the camera with original spoken audio.
Broad appeal. Anyone editing photos or videos can use this simple color lesson.
retainFast visual diagrams and practical software steps keep the viewer engaged.
Useful topic. The video teaches how light absorption creates realistic picture colors.
Visual teaching. Onscreen animations demonstrate how cyan, magenta, and yellow ink combine.
Active host. The speaker uses expressive gestures to explain tricky concepts.
Pacing speed. The video uses 8 shots across 44.2 seconds to keep ideas moving.
Helpful props. Computer software curves show exactly which slider fixes red, green, or blue tint.
Clear steps. The explanation moves smoothly from physical printing to digital screen pixels.
Good length. The 44.2 second runtime gives a complete lesson without extra filler.
rewardViewers gain a clear understanding of basic color grading tricks.
Taught a skill. You learn to remove color tints using opposite color curves.
Feels smart. You understand how RGB screens and CMYK prints handle light.
Inspired to edit. You feel ready to fix color issues in your own videos.
aevylearn video masterycolor gradingphotoshop tutorialpremier pro tipsediting trickcmyk vs rgbvideo editing lessoncolor correctionvisual effectscontent creatordesign tips
Most people think fixing colour means adding more of it. But the real trick is using the opposite colour to neutralise what’s overpowering the image. This is one of the basics of colour grading.
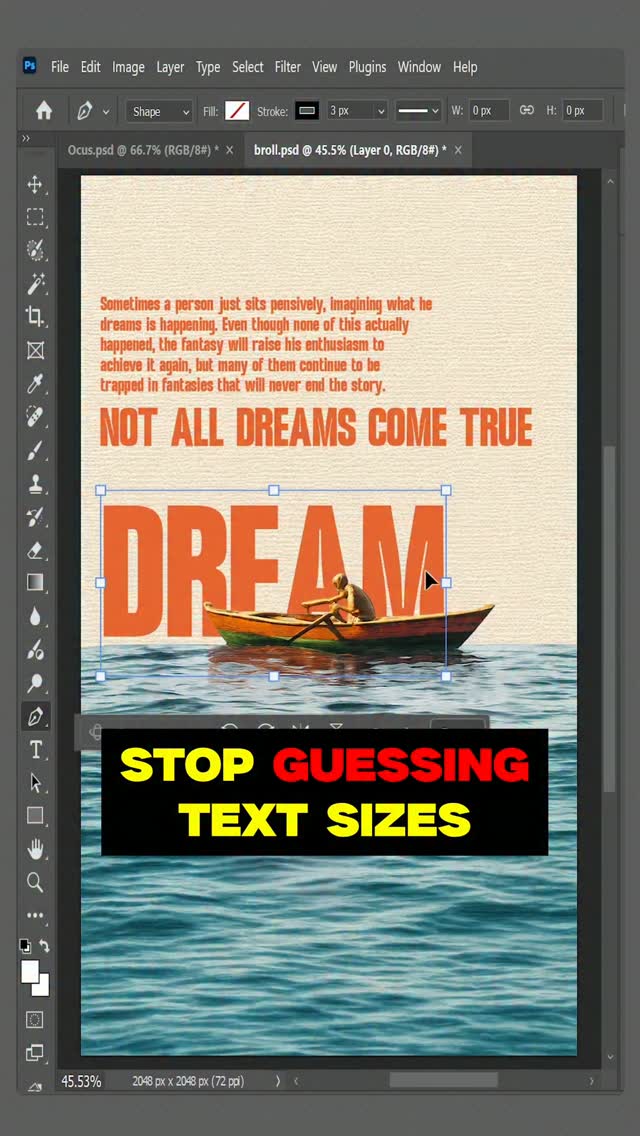
Most people build text hierarchy by randomly making each line bigger or smaller. But the real trick is choosing a ratio that controls how bold, balanced, or refined the design feels. This is one of the basics of typography.
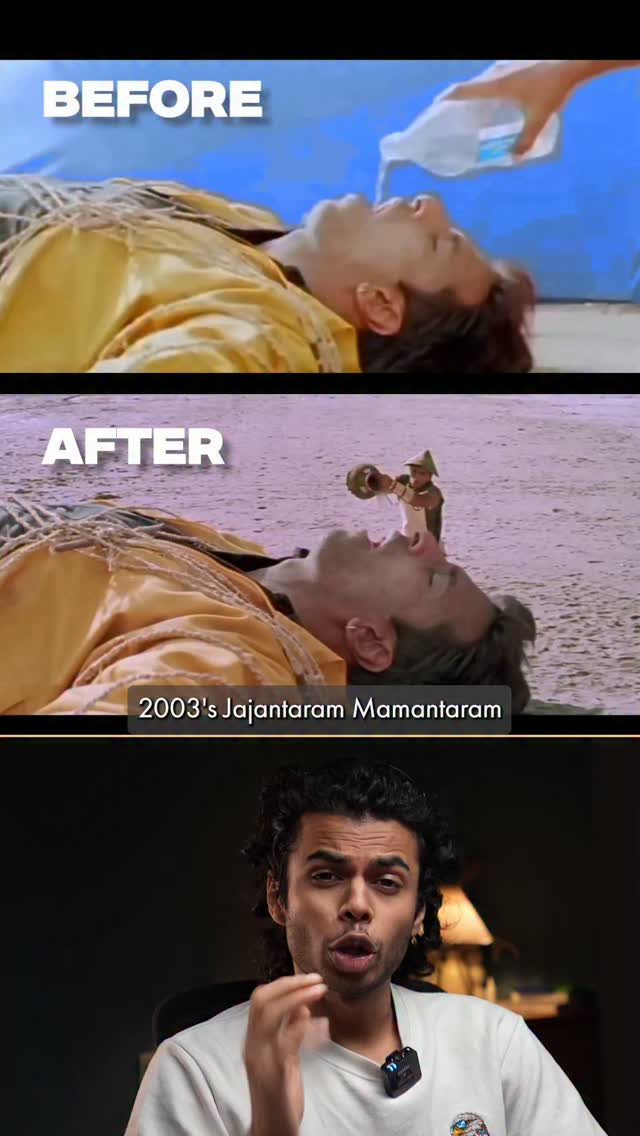
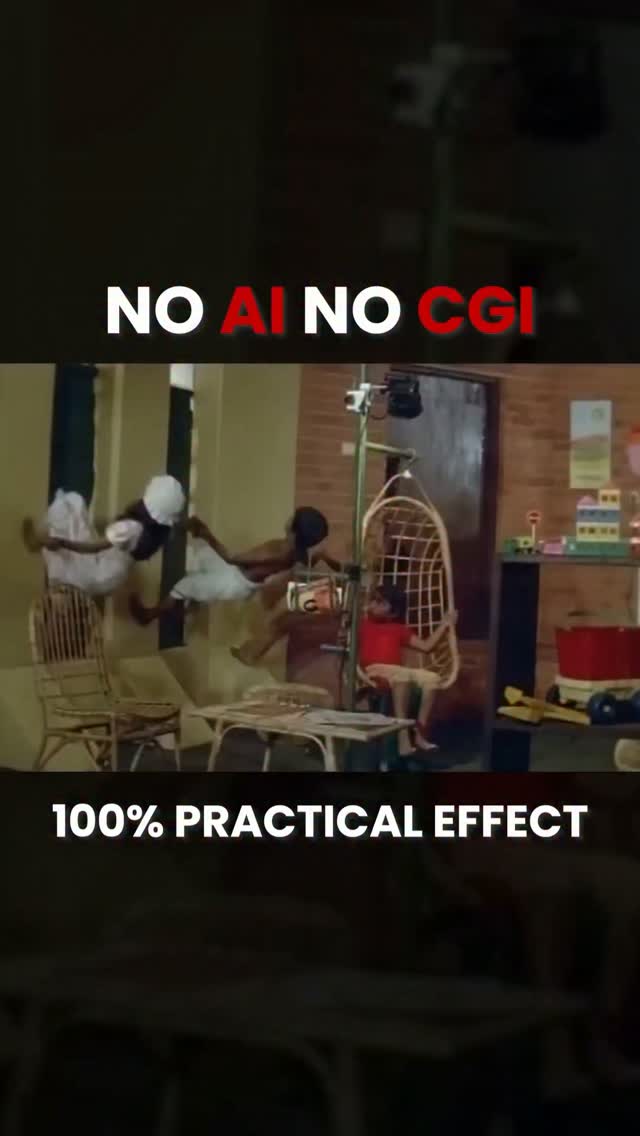
A video creator explains how a 2003 Bollywood movie used clever camera tricks and blue screens to make giant characters without digital editing.
1.5Mviews
42Klikes
66comments
0shares
0saves
633Kfollowers
56slong
2.8%liked
hookViewers stop to see side-by-side clips showing how movie magic was created in an old film.
Visual contrast. Split screens compare original movie scenes with raw behind-the-scenes footage.
Fast text. Bold text shows before and after labels right away.
Broad appeal. Anyone who enjoys movies or learning behind-the-scenes secrets will want to watch.
retainViewers stay engaged because the speaker uses simple 3D animations to clearly demonstrate clever camera tricks.
Clear explanation. The video shows 3D diagrams that explain how moving the camera made actors look giant or tiny.
Steady pacing. There are 11 shots in 56.4 seconds, with a cut every 5.1 seconds to keep the explanation clear.
Engaging story. The story builds curiosity by showing how simple props solved hard lighting problems.
rewardViewers leave with a fresh appreciation for creative problem solving in classic filmmaking.
Learned something new. Viewers discover how practical camera tricks created big movie effects long ago.
Inspired by creativity. The simple tricks show that clever thinking can solve hard visual problems.
Nostalgic feeling. Looking back at an old movie brings back fun memories of early cinema.
aevy learn video masterybollywoodmovie visual effectsjajantaram mamantaramfilmmaking techniquescamera tricksbehind the scenescinema breakdownold indian moviesvideo editing
Jajantaram Mamantaram in 2003 was really pushing the VFX boundaries of Bollywood!!